We were just too pooped to attempt anything else for awhile. We'd done the living room already, which wasn't too bad a job (I'll try to get some pix up here... they're mostly on facebook, so I can't just toss the code on here to show you how awesome things turned out. ;) The kitchen was next & it was crazy... we used three colors: a rich chocolately brown, an deep slightly burnt red & a color called, very appropriately, Coffee With Creme. Our kitchen is weird b/c the center wall leads through an open doorway into the family room & there's no place to break the color from one room to the next on that wall. Our bedroom door frame extends just a smidge into the family room, so you just cannot break from one color to another... so that wall must be the same all the way through.
When we first built the house & realized this, we "solved" that problem by painting both rooms the same color, but that was NOT my idea of a fix. ;) So then we realized if we could come up with a neutral color for that center wall, we could do different colors on the remaining three walls in each room.
This time around, in the kitchen we added chair rail, in the Antique White color of all our trim with the brown on the bottom & the red on top, then on the center wall, it's brown on bottom & cream on top. It looks awesome & we just love it.
Anyhows, we stopped the cream color at the edge of our that pesky door frame & it's been that way almost a whole year now.
After the kitchen, we did paint Corey's room, put in new carpet (cheap remnant, which works for us). It's a beautiful mossy green color. The guy mixing our living room paint screwed up & ended up w/that awesome color, so we bought it too at a discount. Woo! Then, just before I had my accident, I'd started painting Casey's room a beautiful sort-of robin's egg blue color. Thank God for my father-in-law & Aunt Faye, who helped finish painting! We got some more remnant for in there. & in the past couple weeks, I've been working on painting some furniture to go in there.
We had some nice wood bedroom furniture that had been the boys' & was painted a denim blue color. I don't have any before shots, which stinks b/c I'd have loved to have been able to paint the Antique White I used & then sanded the edges. We weren't able to do that though b/c at one point, we gave Corey the desk from the set to use when he got married & they'd painted it a tan color. *sigh*
No worries, though, b/c I came up with another solution....
[I'm too lazy to resize my pix today, deal with it! ;)]
We've been trying to make the room not too girly & not overly boyish b/c our hope is to someday have a child who needs a safe place to live come & stay with us. We don't know which God might send, but it's so hard to keep such a room very "gender neutral" when there's SO much pretty flowery stuff that goes with the blue & my mother tends to pick up any feminine decor she finds at a steal w/that color in it. LOL!
c
Anyhow, here's what I did to the furniture:
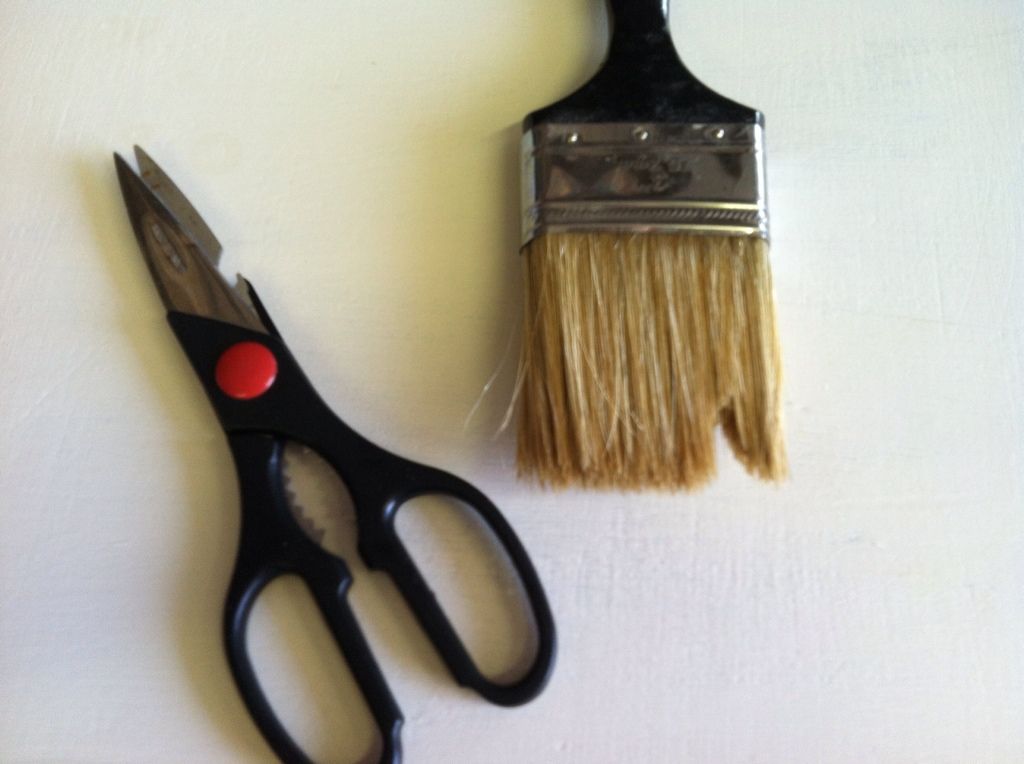
This is a shot of the Antique White and my idea for modding a brush to create the effect I was going for... This is a 3" crummy old brush. Really too course for much of anything I wanted to do, so I cut "Vs" out in it, leaving varying sized gaps.
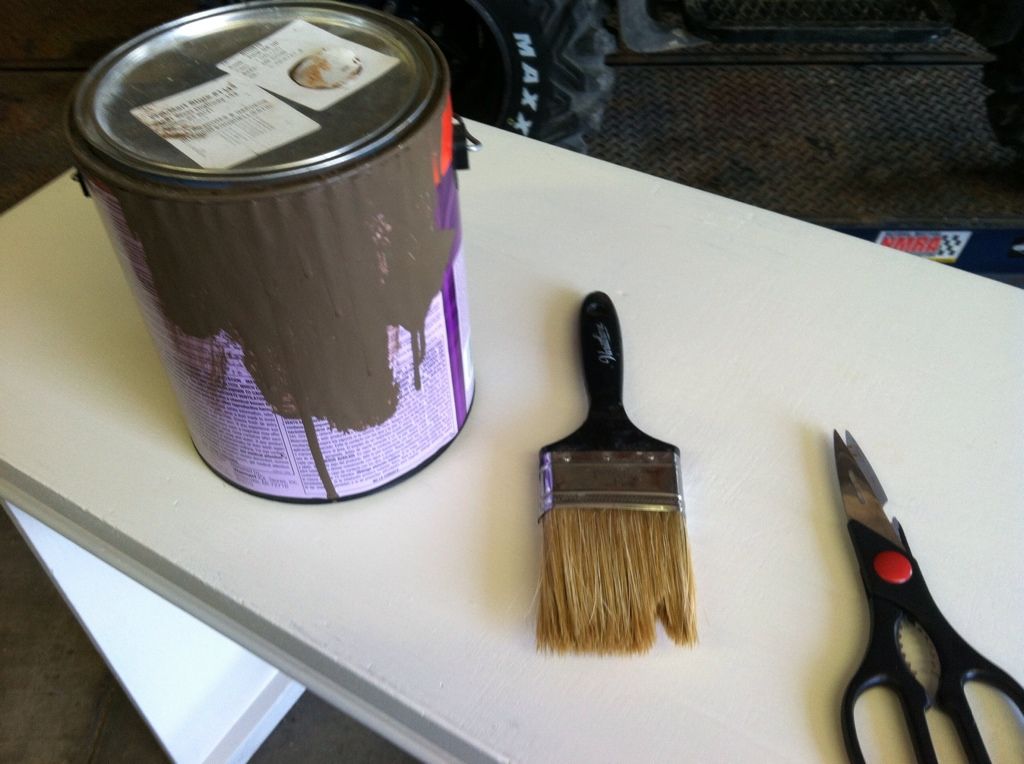
A shot of the before-technique along with the brown paint I used (left over from the kitchen)
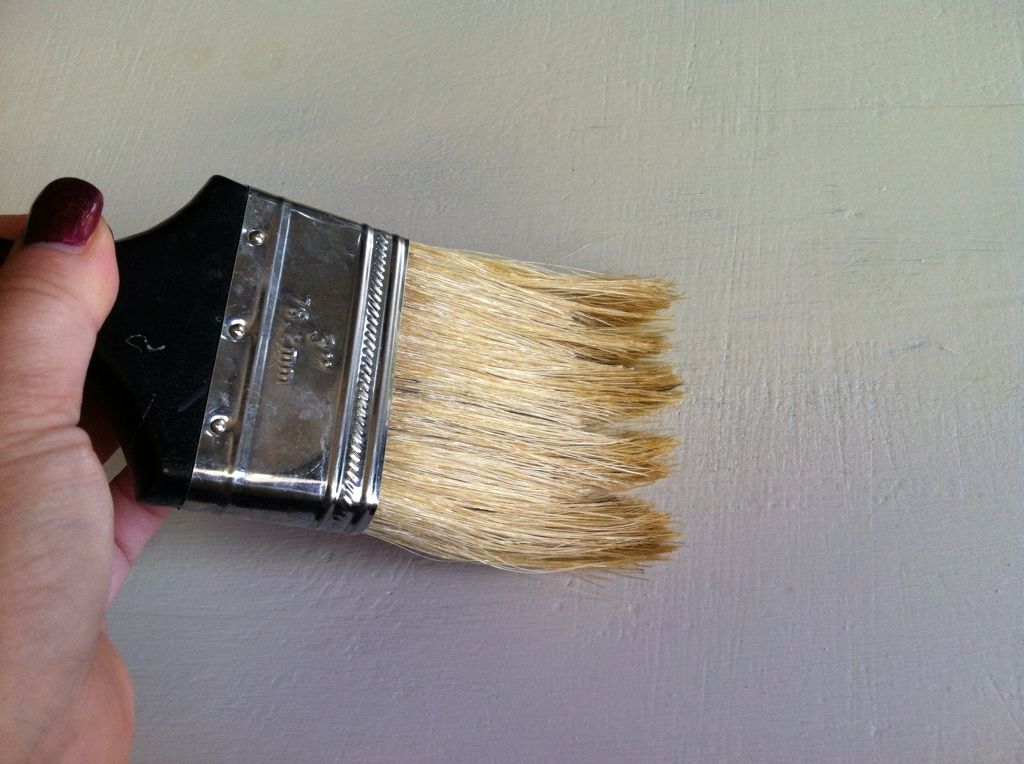
I'm testing how the cuts will spread once I apply pressure on the wood. I ended up making the cuts a bit deeper by increasing the angle.
Keep in mind, I was working outta my own head here.. had never tried this before, had no real clue what exactly I wanted it to look like, just a vague idea....
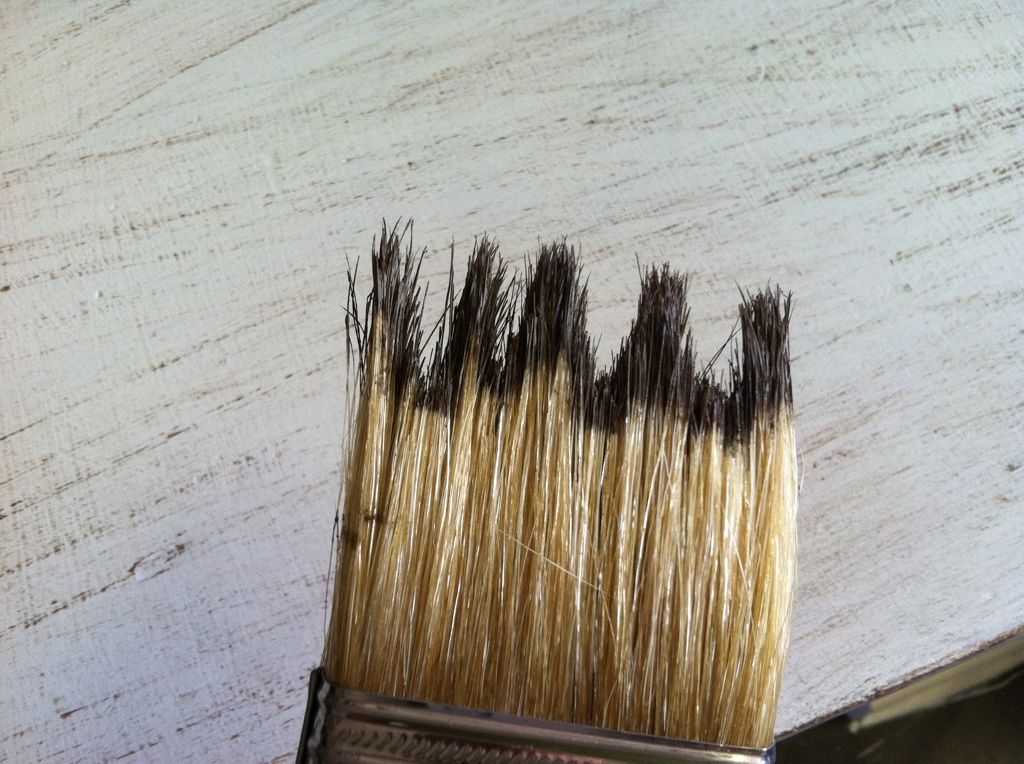
This is how my brush turned out in the end.
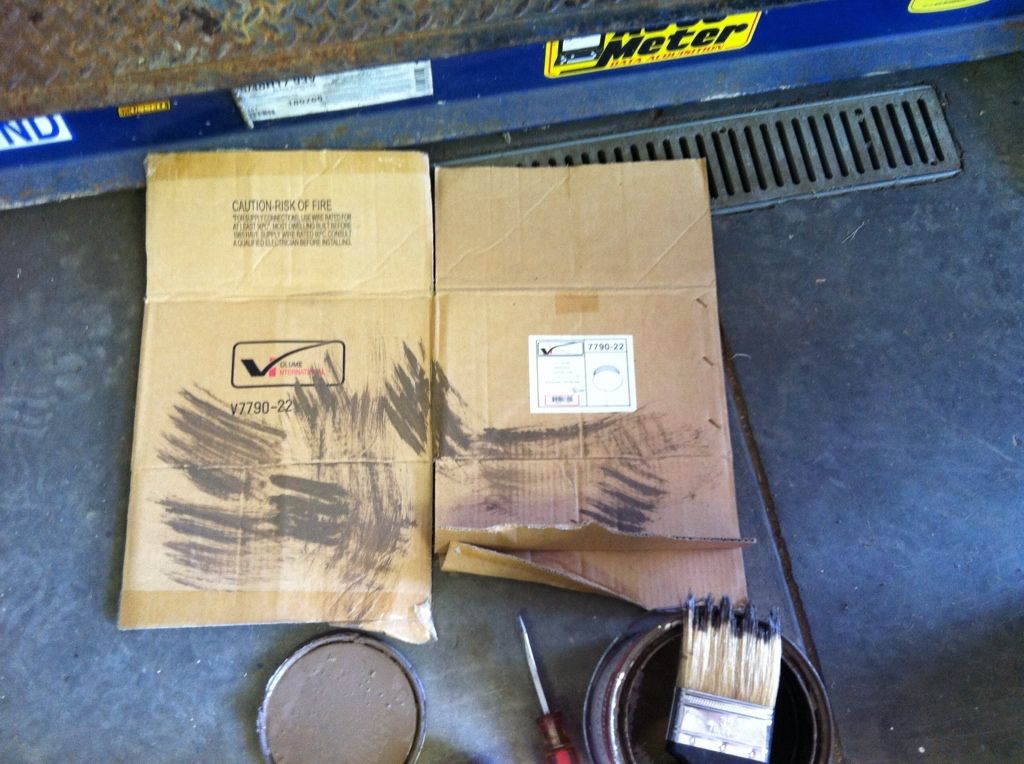
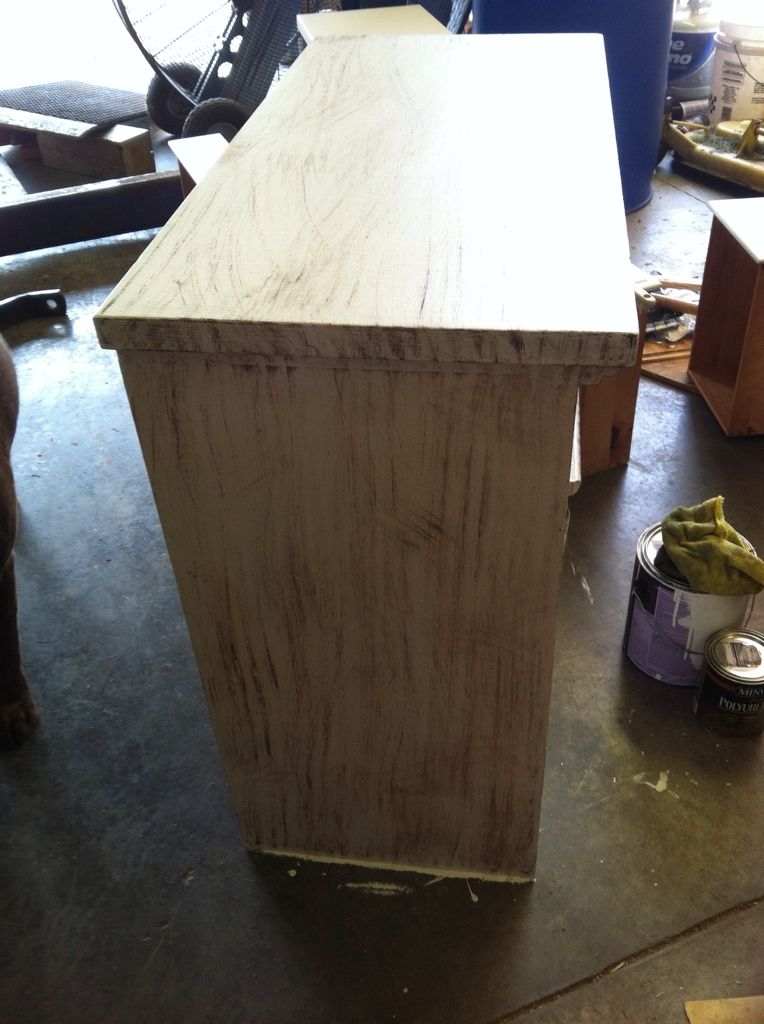
This is sort-of a dry brushing technique I learned when my mom had a ceramics shop eons ago. So you'll need something to rub almost all of the paint off your brush. I used an old box. Old newspaper or junk mail works great too, doesn't have to be cardboard.
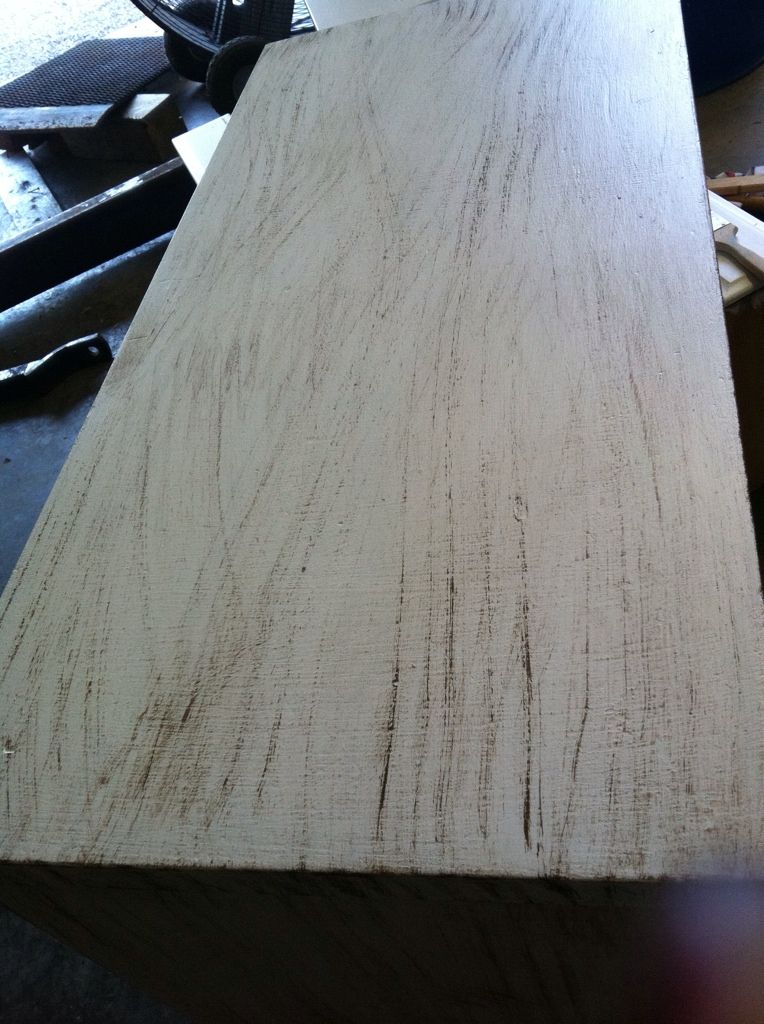
What I did is just gently pull the brush across the surface. I wasn't really going for a wood grain look, but it was similar to that, though nowhere near "right" enough to be considered actual wood grain finish. Although my hubby felt duty-bound to tell me that I should not have let my "grain" cross each other. LOL!
When I realized it was going to look like a sorry attempt at wood grain, I swiped around on it at varying angles to take away all those assumptions! Also, along all the corners/edges and raised areas on the drawers, I laid the brush flat, so the tip of the bristles didn't even touch and brushed sideways so the sides of the bristles were all that rubbed against the sharp edge. I love how that looked and how easy it was to do!!
Have I mentioned how thankful I am to have an awesome shop to do stuff like this in?!! Woo!
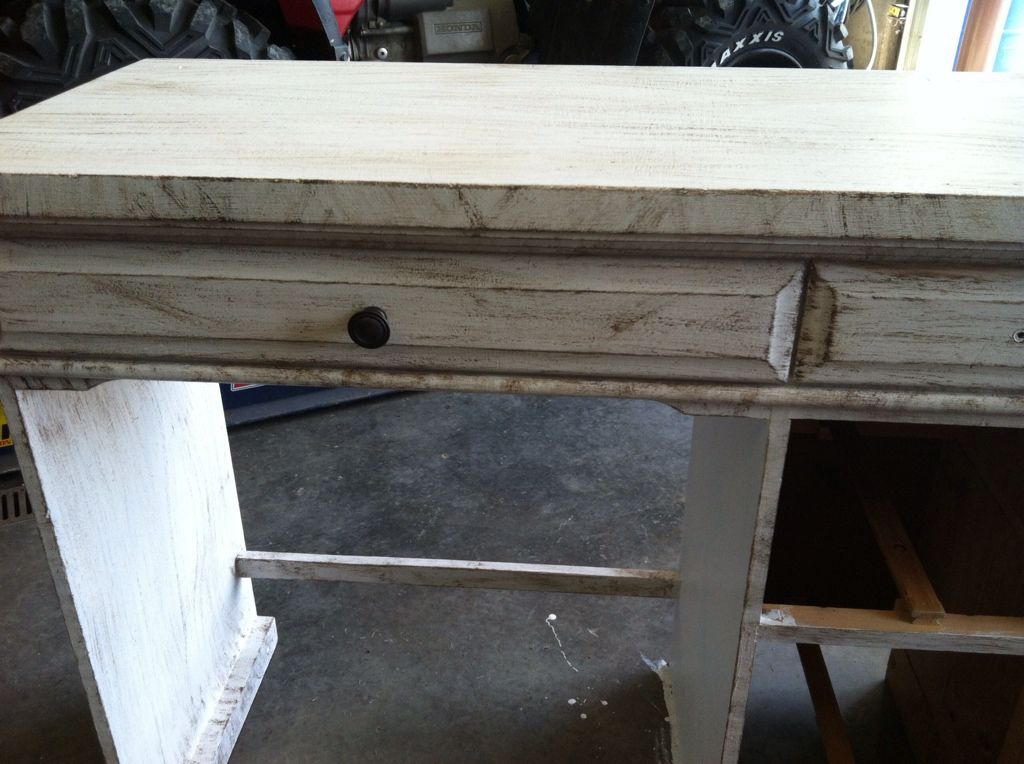
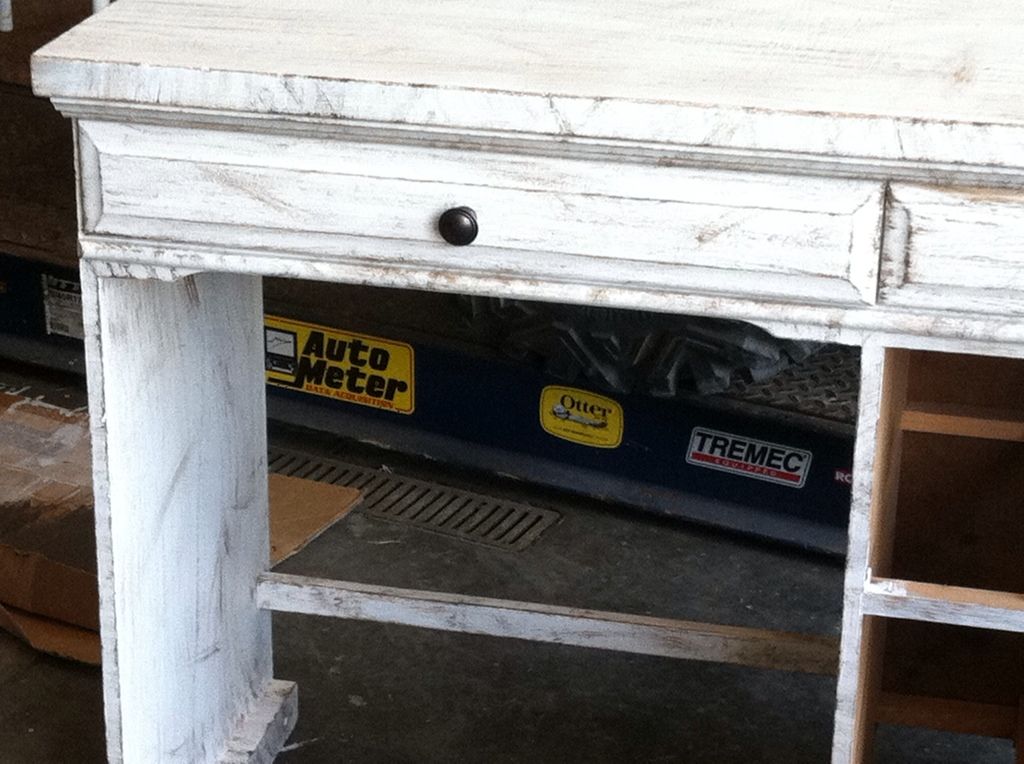
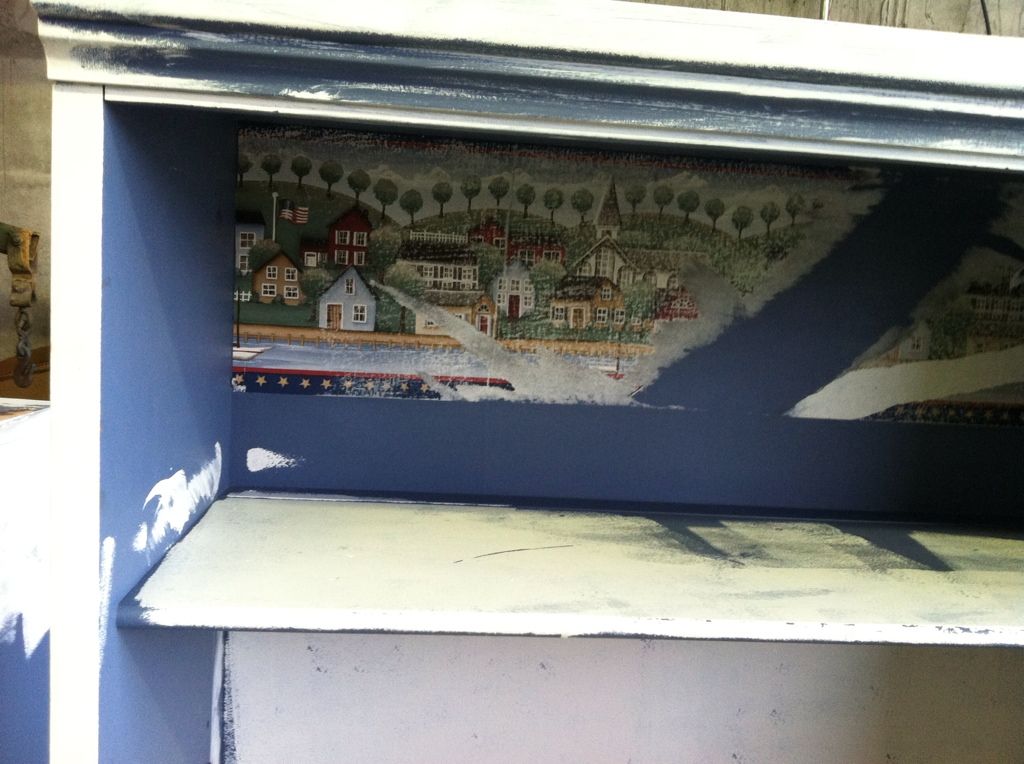
Since I don't have the room all fixed up, I'm not posting any whole-room shots right now, but here's a peek at what the furniture looks like in the room...
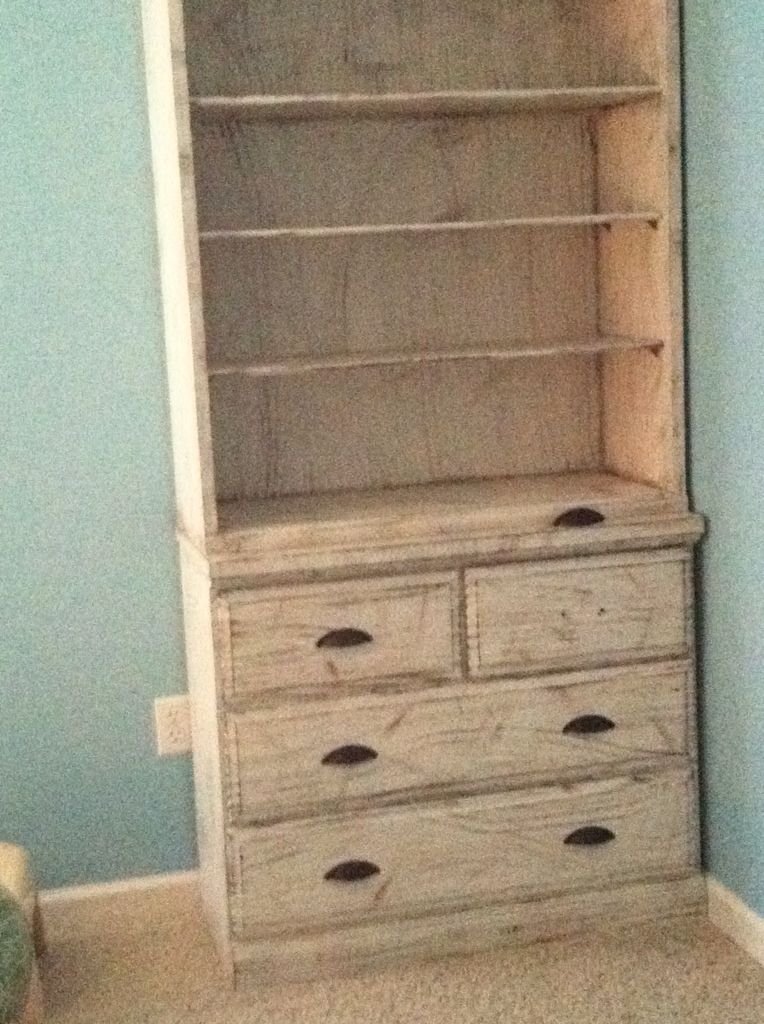
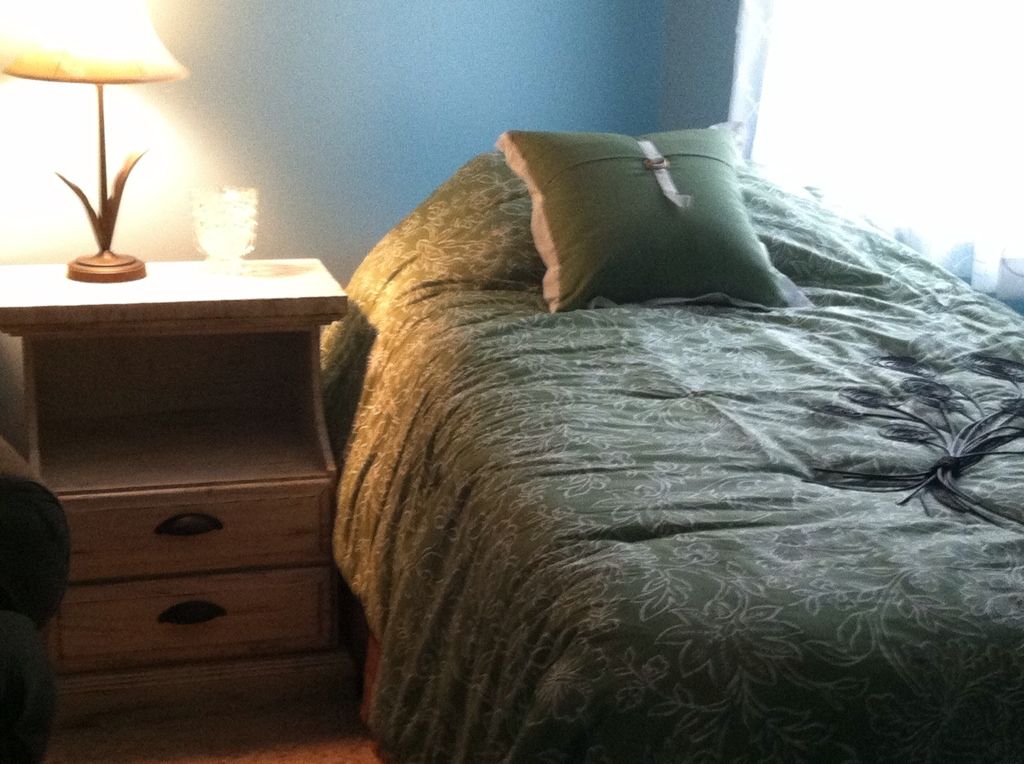
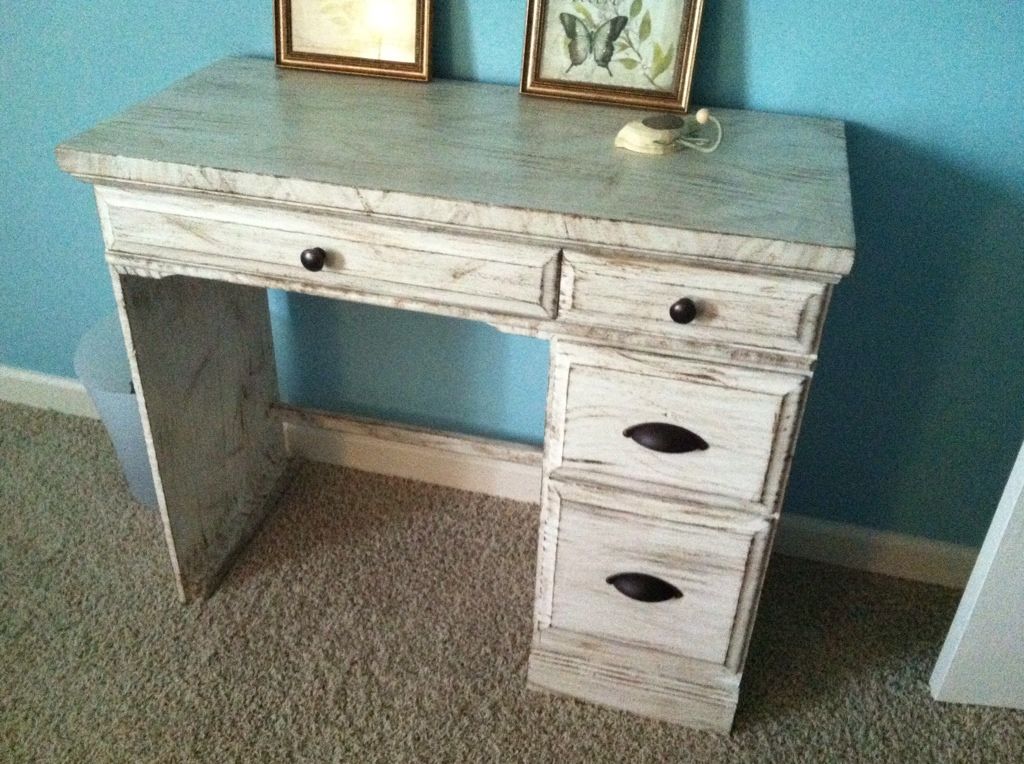
Those last few pix are not the best, I know, but at least the one of the desk shows fairly well how nicely the whole effect blends into the room. We also changed the hardware from the 18th Century style stuff it had. I love the effect it had on the furniture! Oh... and I DID find one shot of that denim blue color we'd painted the stuff when the boys were little:
Please let me know what you think of this and share your furniture painting projects, too!
No comments:
Post a Comment