I found a cool idea on, where else, Pinterest, taking fabric ruffle & wrapping it around the shade. Of course, having NO crafty store around town though, I have not been able to find any such ruffle. There is Sexton's that I didn't try, but it's a tad late now. *sheesh* My idea was to use blue and brown with maybe some green ribbon wound through it. But like I said, absolutely no luck finding ruffle.
And actually, it's about impossible to find fabric with my colors. See, my problem is that I've incorporated green into the room. Matter of fact, the bedspread is entirely green with a white floral outline on it. !! Remember I said I was trying to keep the room gender neutral to suit whatever purpose the Lord might have for the room... but that's about impossible too!! One of my sweet cousins had bought a comforter for in there... it was a bit darker blue than the walls with a large white flower outline and a bit of green leaves. It would have been great color-wise, but it looked entirely too feminine. And besides that, Tommy didn't like it at all. *sigh*
So, I took it back and found the green one. Originally we got the green comforter hoping to use the opposite side, which was a white background with little blue and green stripes. But once I got it on the bed, it just looked like pajamas!! Egads!!
The dust ruffle is dark brown & my thoughts were to find some fabric with blue, green & brown to make a couple extra throw pillows. But man, it's about impossible to find those colors together and of course, there are only fify bazillion shades of green and blue.
I was able to find a few pieces of fabric with these colors at Walmart in an entirely overpriced bundle. Seven bucks for 6 small sheets of fabric?!/ I'm still kicking myself, but what do you do when you get desperate? (You spend too much money, that's what!)
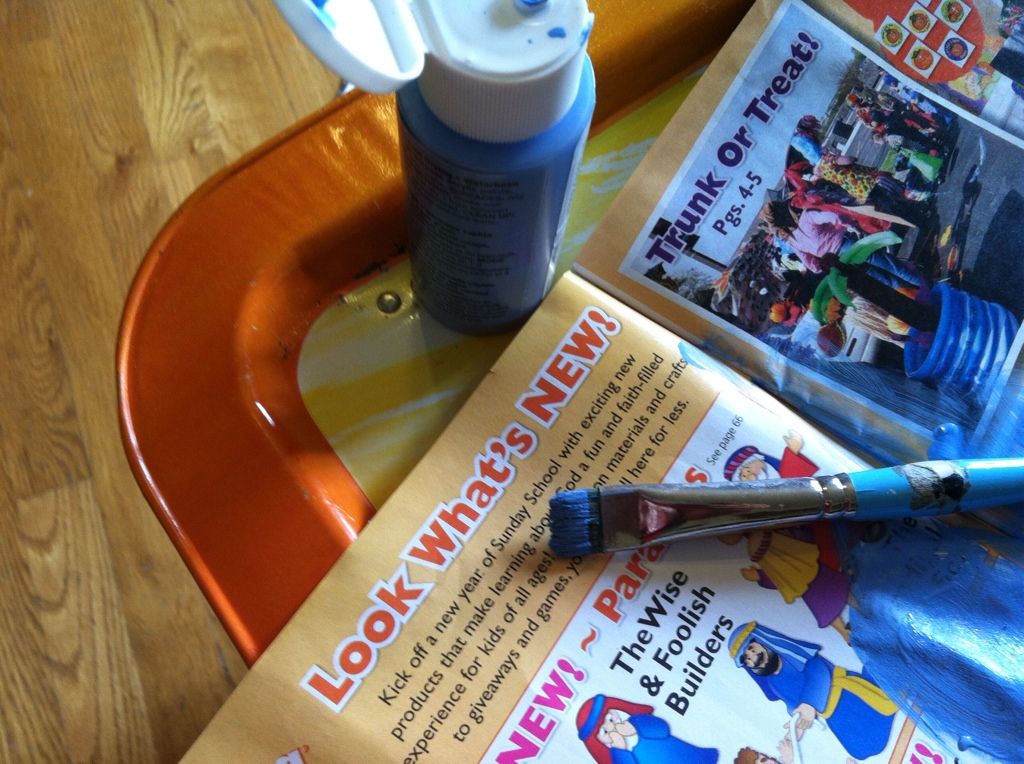
My materials: gel glue (Elmer's brand is what I used), mix the glue with water til you get something that's not too thin but brushable. A 1/2 inch brush, my lamp shade and fabric cut into approximately 1/2" strips.
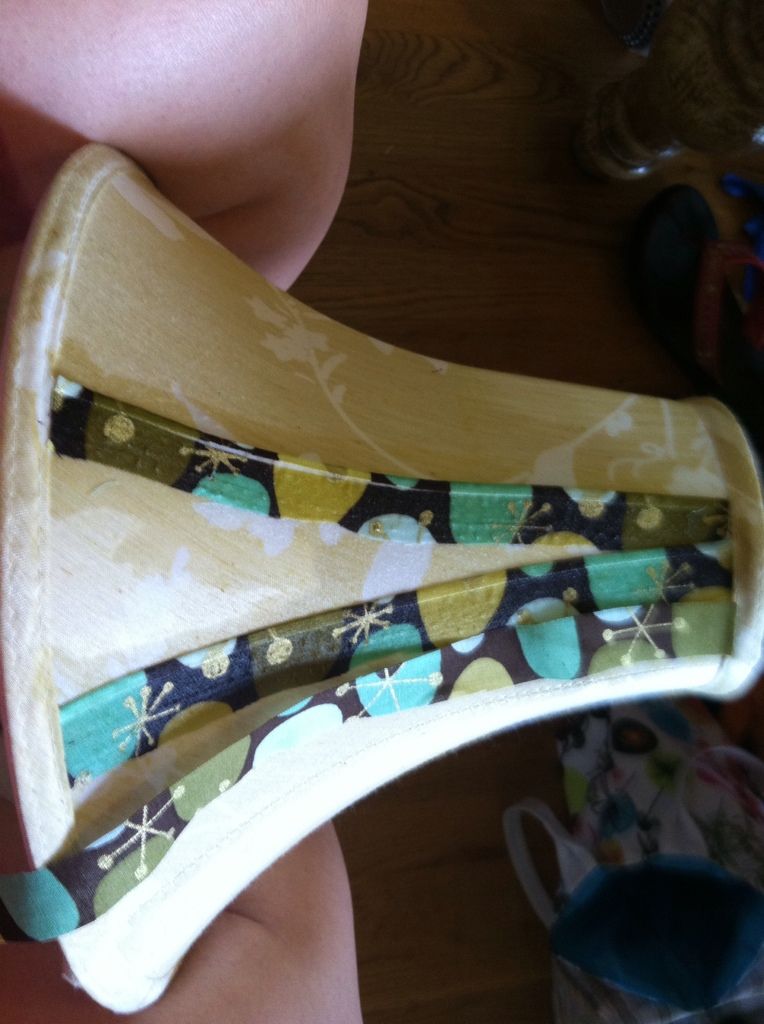
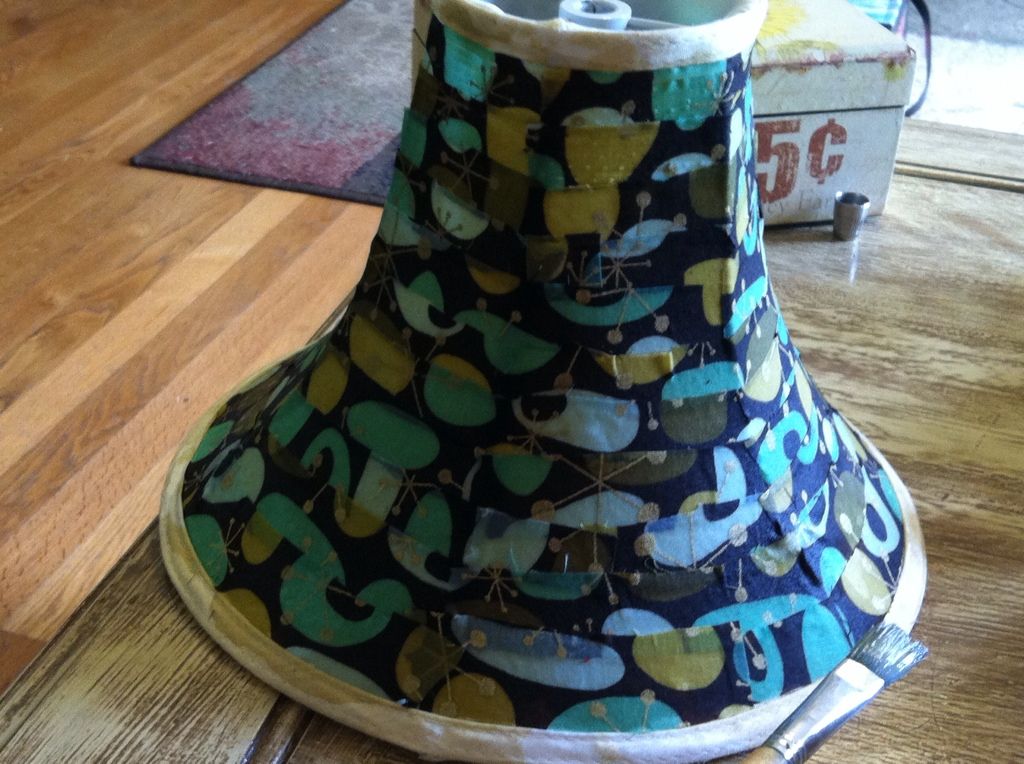
Here's what I started with:

My original thought was to make a paper pattern of the panel, cut the fabric to fit & glue it to the shade, but I finally gave up on EVER being able to get an accurate pattern. Between the flare of the panel and the outward curve, it was impossible. So I thought I'd just cut my fabric into strips & glue it on vertically.

However after getting a few strips on, I realized that wasn't going to work. *sigh* That daggone flare was going to make it impossible!!
So, I took all that back off, and started winding it around the same way the ruffle deal was supposed to be.
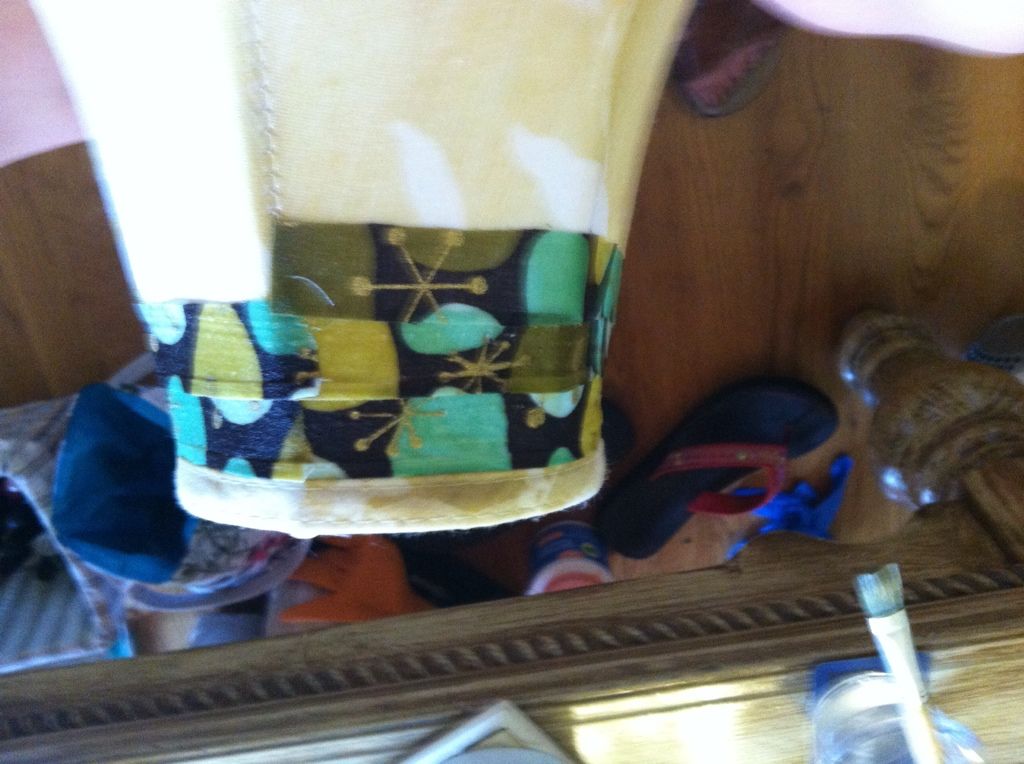
That seemed to work lots better til I got to that curve where the shade starts flaring out at the bottom. Then I ended up with little poochy puckery sticky-ups... see?
Everywhere the fabric crossed the wire frame, I had one of those poochies sticking out.
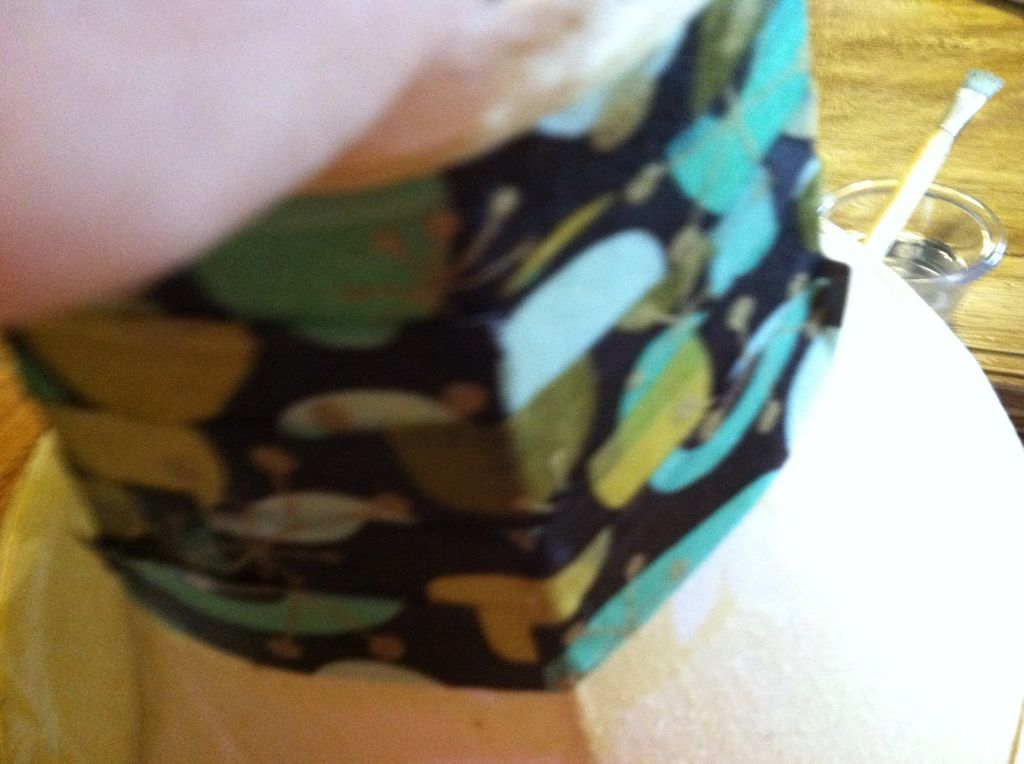
At this point, I was brushing the glue over the fabric as well as underneath. I took the tip of my scissors & cut the fold down to where the fabric laid down correctly. Then I brushed the two flaps created down one over the other. That seemed to work fine.
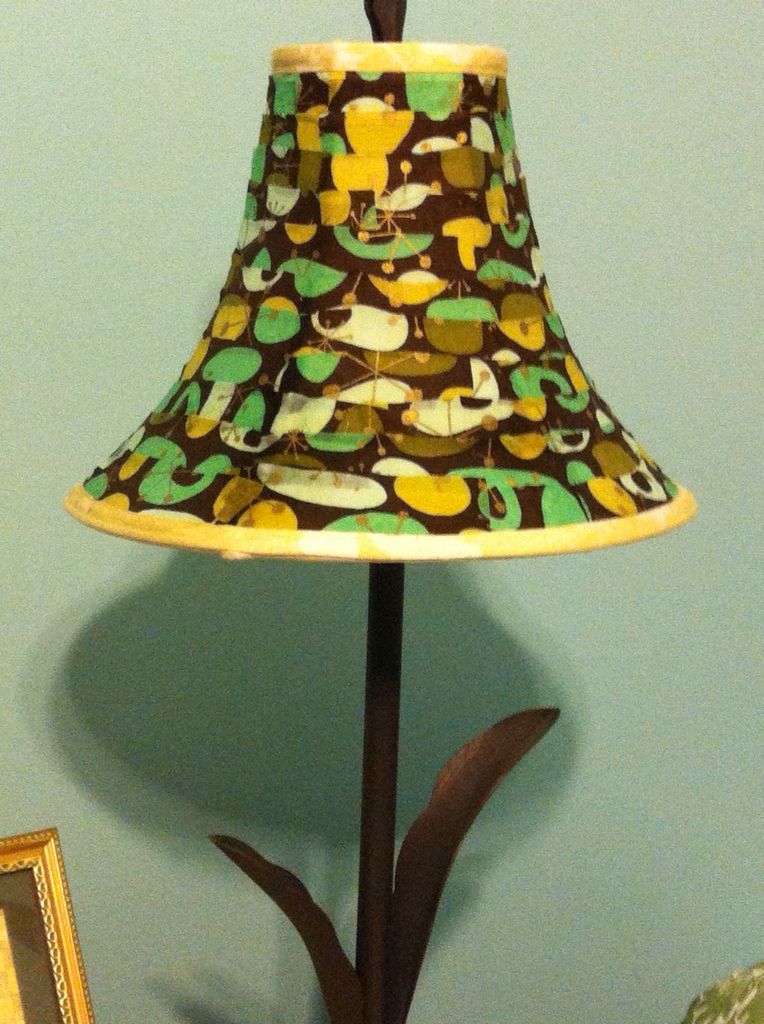
Here's what I ended up with:
I tucked the edges of the fabric underneath the ...whatever you call it.. the binding at the top and bottom of the shade. I didn't cover those, but if it still doesn't suit me, I will probably use flat grossgrain ribbon to cover that.
Here's the lamp on the nightstand... still wet, so it's darker than it will be when dry, but I'm pretty pleased with it!
same room, different project
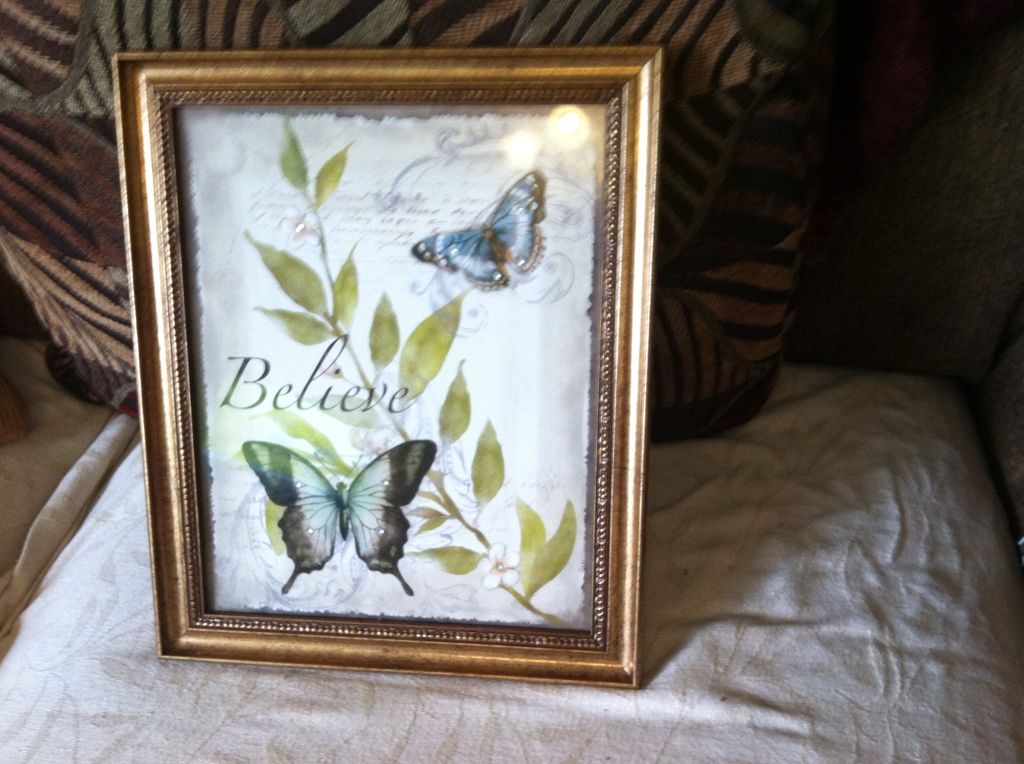
I have these two gorgeous pictures Mom gave me, but the frames are too glitzy to suit me. I wanted to tone them down a bit. So I did a little paint job on them.
Before:
After:
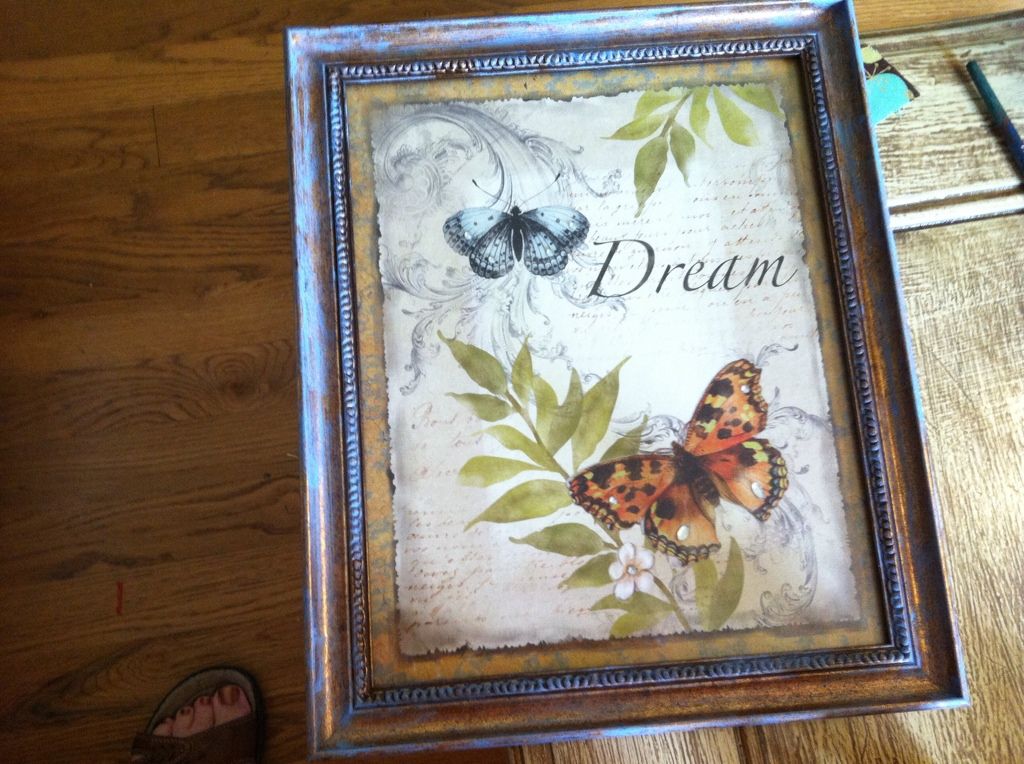
I used a "dry brush" brush... I dunno the technical name for it, but that's what it's used for. This brush is probably at least 30 years old. It came from Mom's ceramic shop eons ago. Tip of the day: take care of your brushes!! :) You'll need one with short, fairly stiff bristles. And you'll want to get some scrap paper or cardboard to "rub" most of the paint out of your brush.
I will probably regret not taking the glass out of these and doing them "right" but I was being lazy & trying to fill time in between studying on what to do with my lamp shade. To properly do this to your frames, you should definitely at least spray them with some satin sealer so you have a better finish for underneath your paint. Seriously, there's a sheen to these frames to begin with & the paint basically just pushed around on the surface. I'm just hoping it doesn't rub off while I'm trying to hang them. I originally was going to base coat them a cream color, but I didn't totally hate the gold... but if I'd used the spray. I'd have had something to hold the paint on. This is call do as I say, not as I do... and yes, if the paint all rubs off while I'm hanging the pictures, I'll tell you. *sigh*
Have fun & let me know if you try any of my ideas. :D
I didn't have any trouble with the paint rubbing off when I hung the pictures, by the way!! :) YAY!!
ReplyDelete